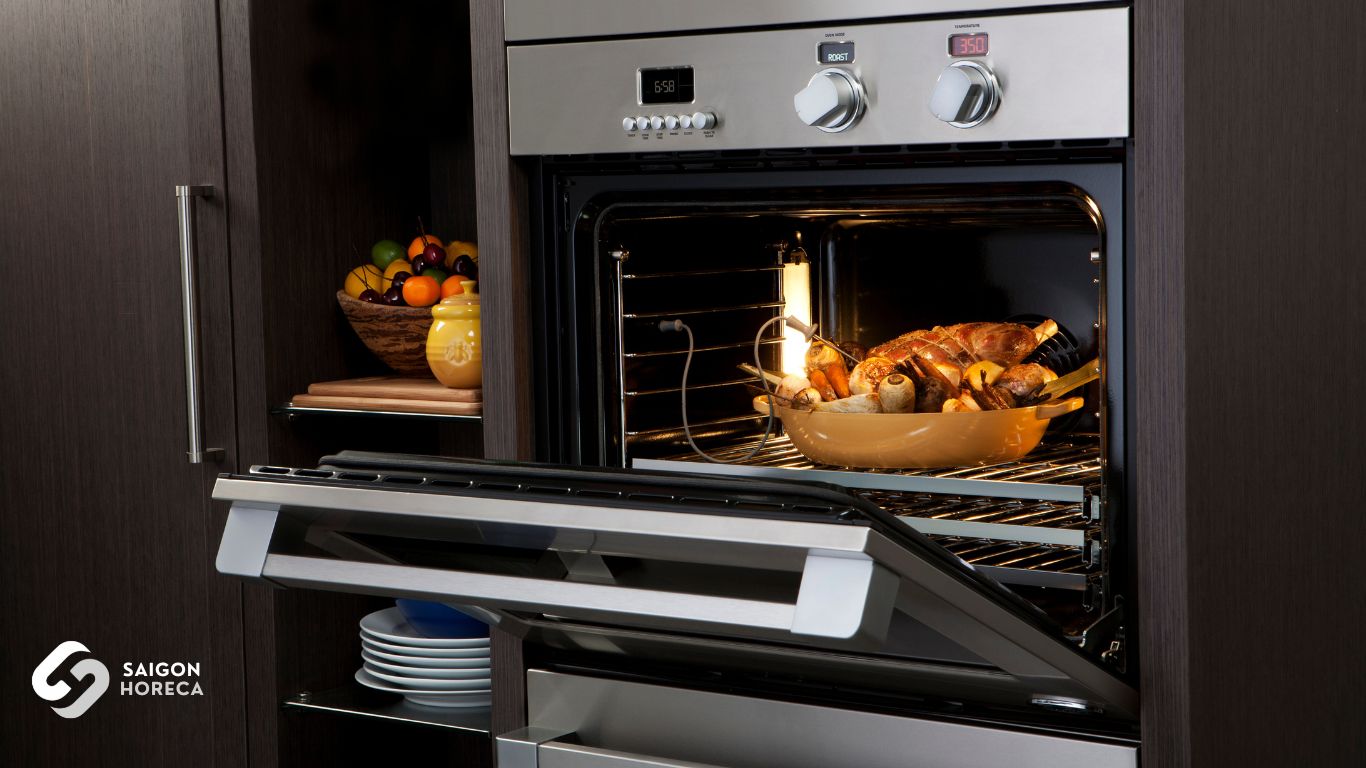
Looking to elevate your grilled dishes with a Salamander Grill? With its ability to grill quickly and evenly while giving […]
Read More
- Kitchen Equipment by Business Model
12 Successful Secrets of Sous Vide Cooking
- October 20, 2023
Sous Vide Cooking is a delicate cooking method in which food is vacuum-sealed and cooked at a consistent, low temperature for an extended period of time. The term “sous-vide” originates from French and literally means “under vacuum.” This is an intriguing culinary technique suitable for handling meats, fish, poultry, vegetables, fruits, desserts, oils, and even alcoholic beverages.
In this article
Đọc bài viết với ngôn ngữ Tiếng Việt
Explore the History of the Sous Vide Cooking Method
The history of the development of the Sous Vide cooking technique is a fascinating story. It originated in France in the early 1970s and underwent a transformative journey.
Initially, Sous Vide was used as a tool to extend the shelf life of food. However, in 1974, two French chefs, Pierre Troisgros and Georges Pralus, marked a significant turning point in this history. Pierre Troisgros, a talented chef from Roanne, faced a significant issue with substantial weight loss when preparing his traditional foie gras.
Unwilling to accept the status quo, he decided, along with Georges Pralus, to seek a new solution. They came up with the idea of sealing the foie gras in food-safe plastic wrap and cooking it at various temperatures to achieve the best results. After numerous experiments, they finally discovered the ideal temperature, resulting in a 5% reduction in weight loss.
From that point, Georges Pralus became known as the “father of Sous Vide” or even the “pope of Sous Vide.” This breakthrough opened the door to the development and widespread adoption of the Sous Vide cooking method worldwide, from high-end restaurants to home kitchens of cooking enthusiasts.
>> Read now to discover how Sous Vide has conquered professional chefs and is becoming an undeniable trend in family cooking: Sous Vide: Unique Cooking Technique and Valuable Benefits.
12 Golden Tips for Perfect Success with the Sous Vide Slow Cooking Technique
Using Special Lids or Food-Grade Wraps
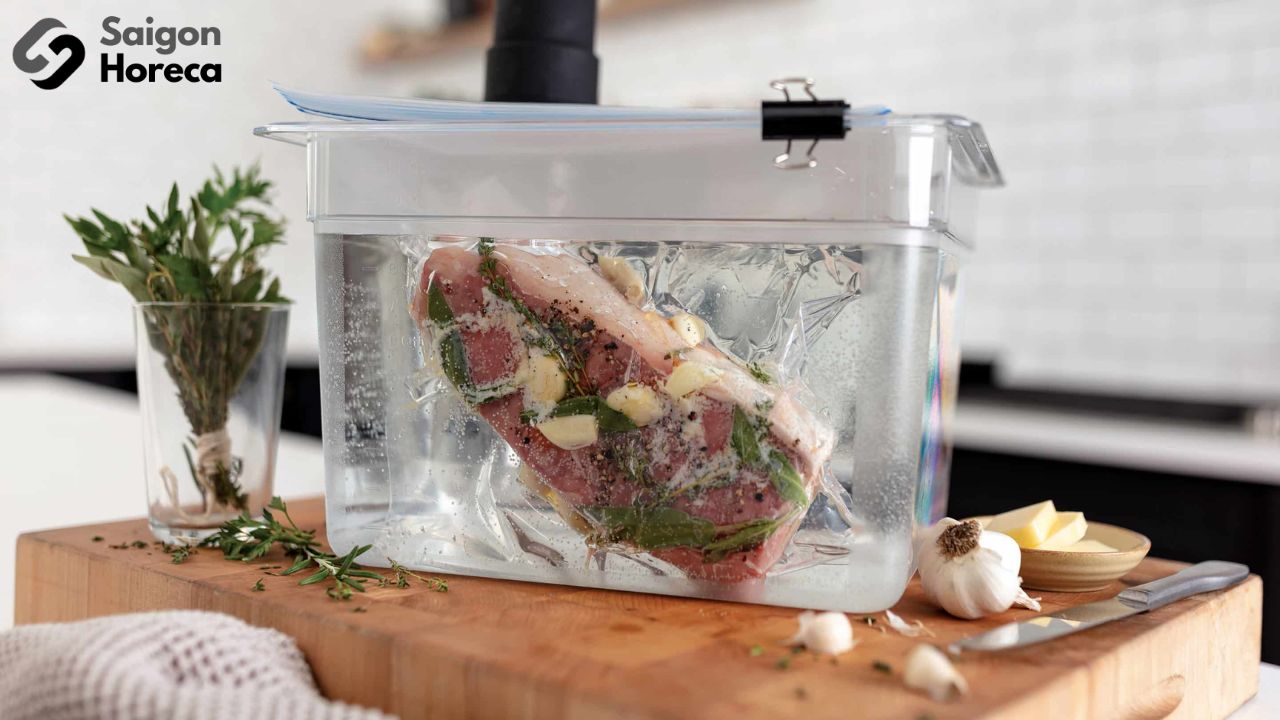
To effectively maintain the operation of your sous vide bath, sealing the lid tightly is crucial. Some people use specially designed sous vide containers with slots for placing the sous vide device, while others opt for discreet food-grade wraps.
As the water in the sous vide bath is heated, it tends to evaporate. Without a proper solution to prevent this, the steam can infiltrate the electronic components of the sous vide machine, potentially causing damage or reducing its lifespan. Some individuals often resort to using large lids to cover the sous vide container and attempt to contain the water vapor.
However, over time, water can still evaporate, producing humidity. This humidity can affect the water temperature in the sous vide bath and compromise the cooking process. This is particularly significant in sous vide cooking, where precise temperature control is a determining factor for food quality.
A highly effective solution is to utilize food-grade plastic wrap. This wrap helps prevent water from evaporating while maintaining a more stable temperature in the sous vide bath. This ensures that your food cooks evenly and achieves the best results when using the sous vide slow cooking method. This underscores a critically important element in the sous vide cooking process.
Carefully Selecting Spices and Seasonings
Be cautious when selecting spices and seasonings to use in vacuum-sealed bags during the sous vide cooking process.
Certain seasonings can quickly and undesirably impact your food if left in the bag with the meat or vegetables for too long. For example, garlic and black peppercorns can potentially dull the natural flavors of the food and even create a bitter taste if they come into contact for an extended period.
However, if you want to enhance the flavor of your dish, you can utilize potent spices and herbs such as rosemary, garlic, or shallots. Remember to use these seasonings in moderation, as they can have a strong impact on the taste.
Dried herbs often work better in sous vide cooking compared to fresh herbs. This is because dried herbs typically have more concentrated flavors and aromas, allowing them to permeate the food effectively.
Keep in mind that selecting and using spices and seasonings is a crucial part of sous vide cooking to ensure that you achieve a well-balanced and delicious meal.
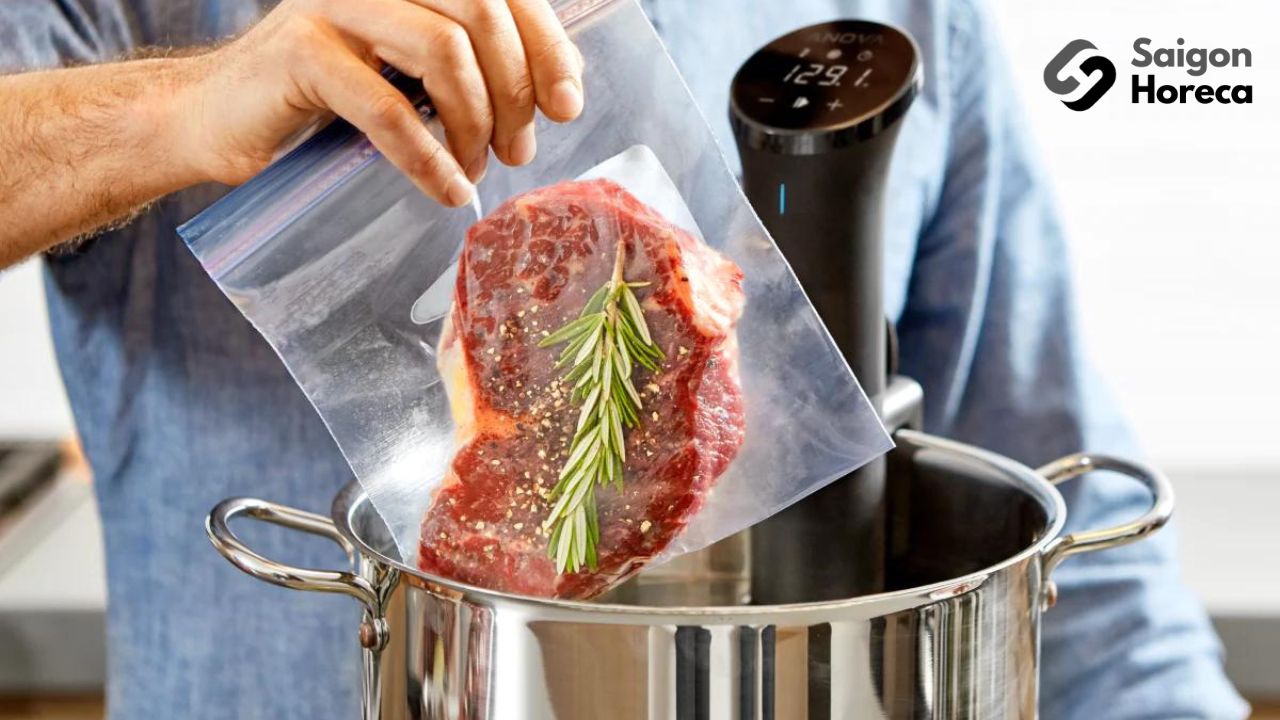
Seal Vacuum Bags Tightly
Make sure that you seal the vacuum bags tightly, ensuring there is no air left between the food and the bag.
Air gaps can lead to uneven cooking during the process. The bag should envelop the food directly, leaving no air inside. Some even suggest using zip-lock bags for easy sealing, but for the Sous Vide method, you need to ensure that all the air is completely removed from the bag before sealing for the best results.
Use a Protective Mat or Trivet for Your Cooking Vessel
Place a hot water pot or container that you’ll use for sous vide cooking on a protective mat or trivet.
It’s essential to avoid putting the pot or container directly on the stove or countertop without protection. While most flat surfaces can withstand high temperatures for a short period or minor water spills, some surfaces like wood, marble, and granite can be damaged. Therefore, unless you’re sure that the surface where you’re placing the pot is heat and water-safe, you should protect it from direct exposure to heat and water.

Ensure Vacuum Bags Stay Submerged in Water
Ensure that your vacuum bags are always fully submerged in the water.
At times, when using an immersion circulator, vacuum bags can float up and down on the water’s surface like a fishing float. This can create air pockets within the bag and cause difficulties in the cooking process. To address this issue, you should add a lightweight item to the corner of the bag before sealing it, but make sure it doesn’t come into contact with the food being cooked.
Pre-Sear Meats Before Vacuum Sealing
Pre-searing certain types of meat before vacuum sealing can be an extra step to enhance the flavor, especially for beef, pork, venison, and other meats when using the sous vide cooking method. This additional preparation step triggers the Maillard reaction (browning reaction) between amino acids and reducing sugars, creating a deep flavor in the meat when slowly cooked in the water bath. However, is this necessary for sous vide cooking?
In reality, no, it is not obligatory, and it depends on personal preference and your ultimate goal. Many restaurants skip this step because it adds to the cooking process and increases food preparation time. Instead, they may choose to slow-cook the meat after seasoning it and only cut the meat after it’s finished cooking. However, if you want to become a culinary expert for your family and guests and make a difference in flavor, pre-searing meat before sous vide cooking can be an intriguing option.
It’s essential to understand that this is not a mandatory step, and you can decide based on the situation and the goals of the dish you want to create.
Prepare Food Before Sous Vide Cooking
Let’s assume that you’ve “pre-seared” the meat and want to lower its temperature below 38°F before proceeding with sous vide cooking. This step is unnecessary if you haven’t pre-seared the meat. To do this, place the piece of meat in a vacuum-sealed bag and immerse it in an ice bath.
During this process, you don’t need to seal the bag tightly; let the bag float on the surface, leaving it open. You need to reduce the temperature of the meat below room temperature, and 20 minutes will suffice. Some may wonder about the importance of this step, and there are concerns that it might pose a food safety issue when meat is left at room temperature for too long. Let me address both of these aspects.
First, there is no food safety issue when meat is left at room temperature for a short period, typically no more than 2 hours. In practice, the preparation, cutting, chilling, and vacuum sealing of “pre-seared” meat typically takes less than 30 minutes. Consider the alternative of cooling meat by boiling it at a low temperature below 212°F under pressure. If you transition from searing in a pan to sous vide cooking at 130°F, you won’t bring the food in the bag to a boil. However, think about how the food may feel if you cook beef for 30 hours or a vegetable dish for 40 minutes at this temperature. While the taste remains good, there may be a change in texture.
A quick tip, before placing the meat in the bag, roll down the top part of the bag about 2 inches. This will keep it away from the meat, seasoning, or fruit juice and not interfere with the sealing process. Use a paper towel to ensure the rolled area is dry and unroll it before sealing.
Bacteria and the Risk of Food Poisoning
Though this isn’t discussed much in sous vide, there’s nothing to worry about if you handle and store food correctly. Most types of meat can be left unrefrigerated for up to two hours without issues. Leaving it for longer can create conditions for bacteria to grow. Vacuum-sealed meat can be submerged in water for several days without risk, but remember to limit it to less than 3 days to ensure safety.
Don’t leave meat in a vacuum-sealed environment for more than three days. While guidelines may allow for longer times, I always adhere to the 72-hour rule. When you take the meat out of the water bath, don’t put it in the refrigerator with the intention of opening the bag after one or two days to use. Botulism is a type of toxin produced by the bacteria Clostridium botulinum, and it doesn’t need air to develop, similar to the environment within a vacuum-sealed bag. If you sous vide a piece of meat for 3 days and then leave it in the refrigerator for an additional 2 days, you create conditions for bacteria growth within 5 days, which poses a risk. Therefore, adhere to the 72-hour rule.
Pre-Chill the Bag Before Vacuum Sealing
Before vacuum sealing the bag, place it in the freezer for about 5-10 minutes to freeze and solidify the water in the bag.
Most at-home vacuum sealing systems will remove air and moisture from the bag, and sometimes this moisture can cause issues when sealing. By placing the bag in the freezer, you solidify the water in the bag, making it easier to vacuum seal when using a vacuum sealer. If possible, you should also use a vacuum sealer with moisture control or a marinating feature. While not necessary, it will certainly help the de-airing process go more smoothly and efficiently.
For Delicate Foods, Don’t Vacuum Seal
For delicate foods like fish, you may want to avoid using a vacuum sealer.
Fish is a prime example. Salmon and similar fish are often delicately structured, and using a vacuum sealer to vacuum-seal the bag can compress the fish. The result is a dish with an unnatural texture, rather than the soft and delicious fish you want. Some vacuum sealers have a gentler mode, but to ensure the quality of delicate foods, you should consider sealing the bag manually without a vacuum sealer.
Only Cook for the Necessary Time
If 30 hours is enough, then 72 hours can’t make the food better.
Often, you’ll hear chefs and home cooks talk about extending sous vide cooking to 72 hours. They claim that cooking longer will make the food even more tender because it breaks down protein bonds. However, the issue here is that if you cook the food too long, it will lose too much moisture. Each protein type has its recommended cooking time, but a general rule is not to cook for more than 36 hours.
Fortunately, there are now many mobile apps like Sous Vide Dash, ChefSteps, and Polyscience Toolbox, as well as online resources, that help you determine the appropriate time and temperature for specific foods you want to cook. This will ensure you sous vide cook with precision and get the best results. Refer to recommended temperatures for each type of food to achieve the best outcome.
Using Dual Temperature Settings
For professional users, consider using two temperature settings.
When preparing meats such as pork, beef, venison, lamb, and similar meats, begin by cooking the protein at 120°F (48.9°C) for about 8 hours. Then, increase the temperature to your desired level for the remaining cooking time. Starting at this lower temperature helps break down protein bonds more effectively than maintaining a consistent temperature throughout the cooking process. The result will be an even more tender dish than you might expect.
Ideal Temperature Guide for Various Types of Foods.

+84 901 304 365
Monday - Friday
from 8h00 to 18h00
TP Hồ Chí Minh, Vietnam
Số 40 Đường số 6, KDC Melosa Khang Điền, Phú Hữu, HCM.
contact@saigonhoreca.com
Contact anytime
Related Posts
In the context of the rapidly growing culinary and food service industry, investing in industrial kitchen equipment for a canteen […]
Read More

